Tutorial on Creating a New Studio or Game Group on the CGDC Website
So you’ve been accepted as a new Member on the CGDC website.
You’ve beefed up your personal profile with a profile photo, cover photo, added some interesting info under “A Little Something About Me”, and added your social media links.
You’ve looked around the website, noticing Studio and Game Groups.
And you want to add your own Studio and/or Game(s) that are in development.
This tutorial is for you.
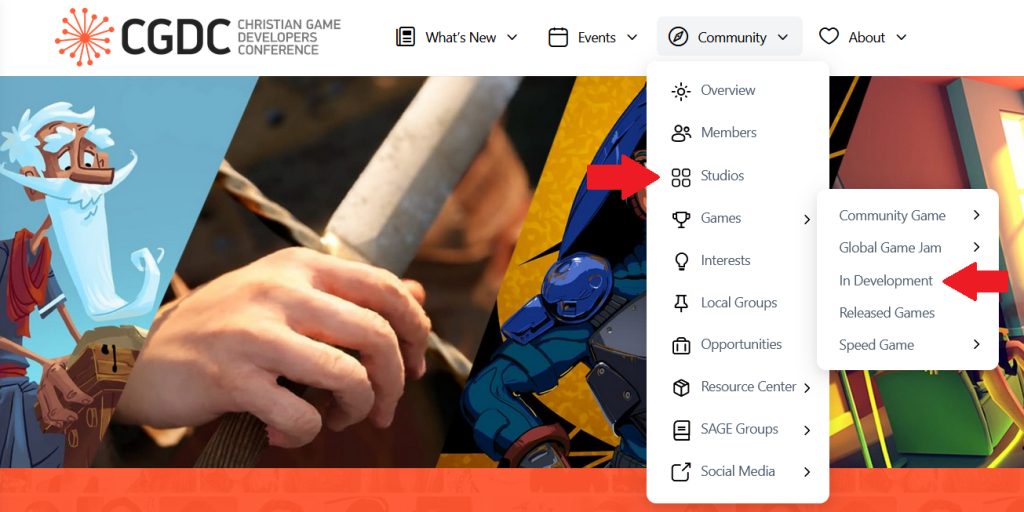
First, to be clear, Studio and Game groups can be accessed through the Community dropdown menu:

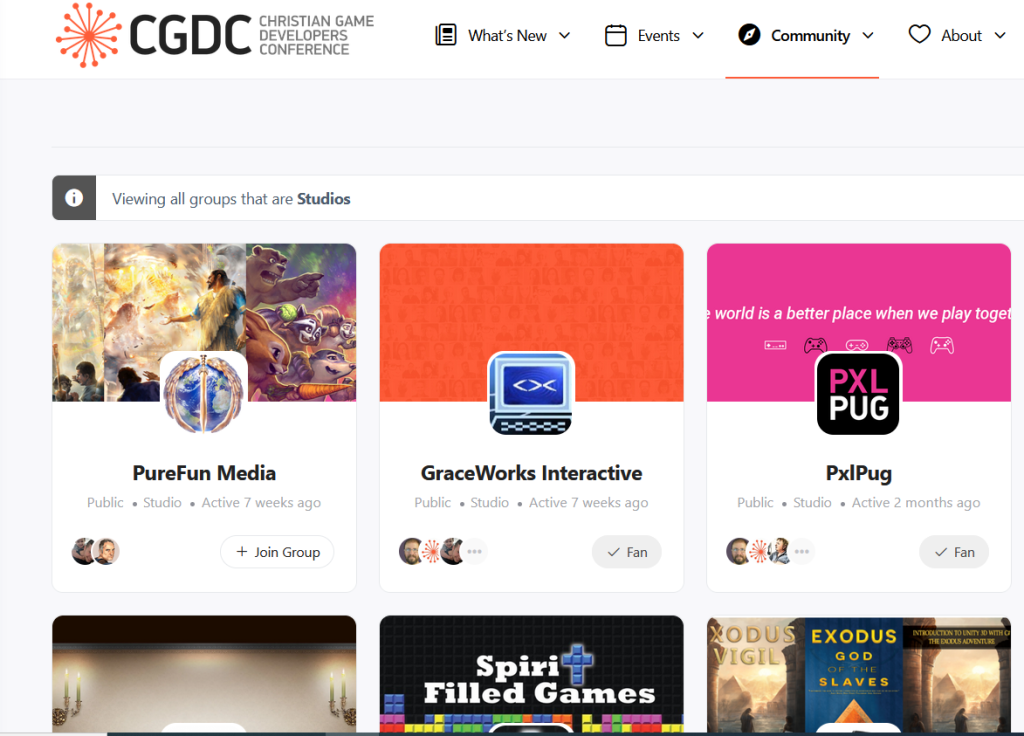
And they look like this (Studio):
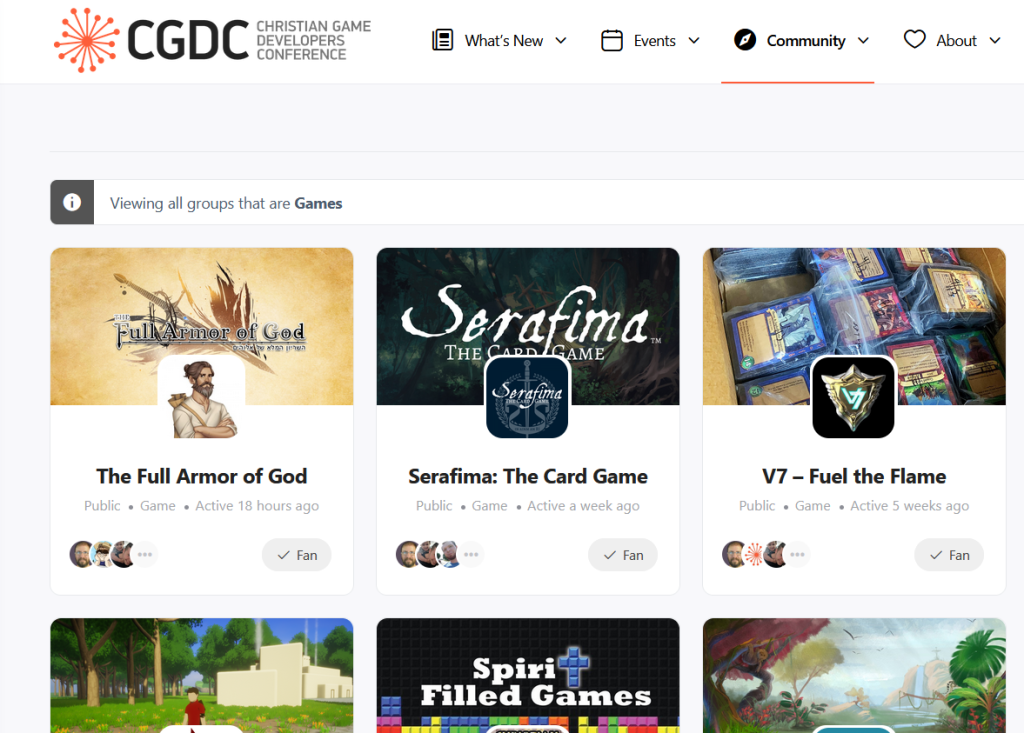
or this (Game):
If you have your own studio (it DOESN’T have to be legally formed or incorporated, just have a name), then you’ll want to create that first, before adding the game(s). If not, just create a game group.
ProTip: by creating the Studio FIRST, you will be able to “nest” any game groups you subsequently create within, like so:
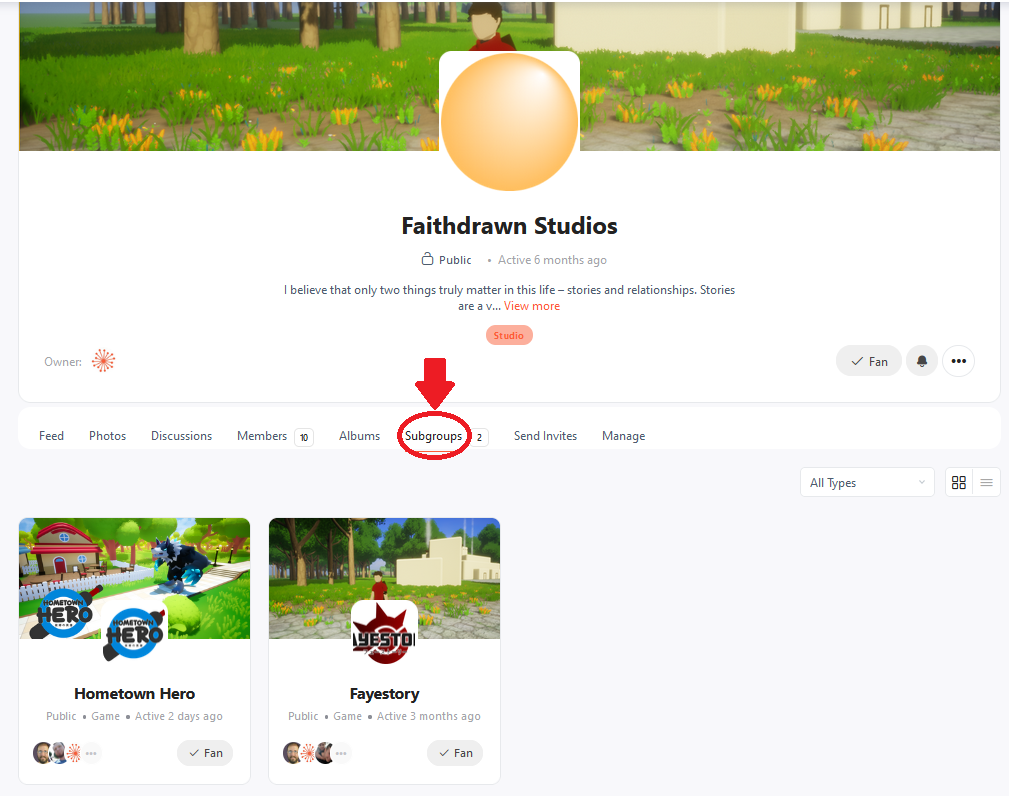
Here, the games “Hometown Hero” and “Fayestory” are subgroups of Faithdrawn Studios.
The Subgroup tab will automatically appear once set-up
How to do this is explained below under “Group Parent”
But let’s not get ahead of ourselves.
Creating a group is easy.
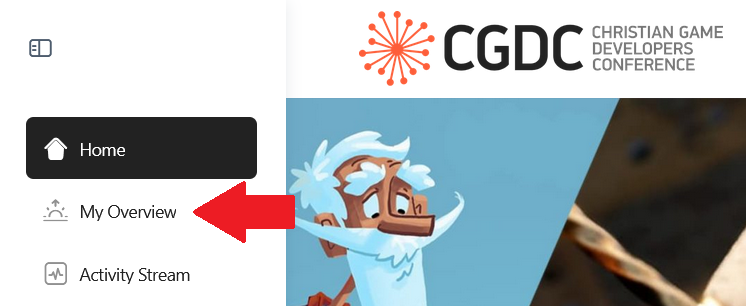
To create a group, you need to navigate to the My Overview page via the side menu:
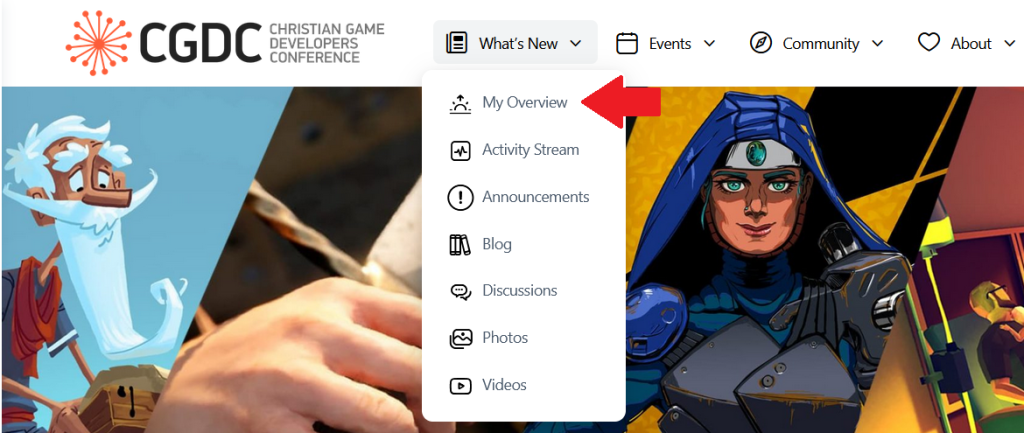
Or alternatively, via the What’s New dropdown menu:
You should end up at a webpage that looks like this:
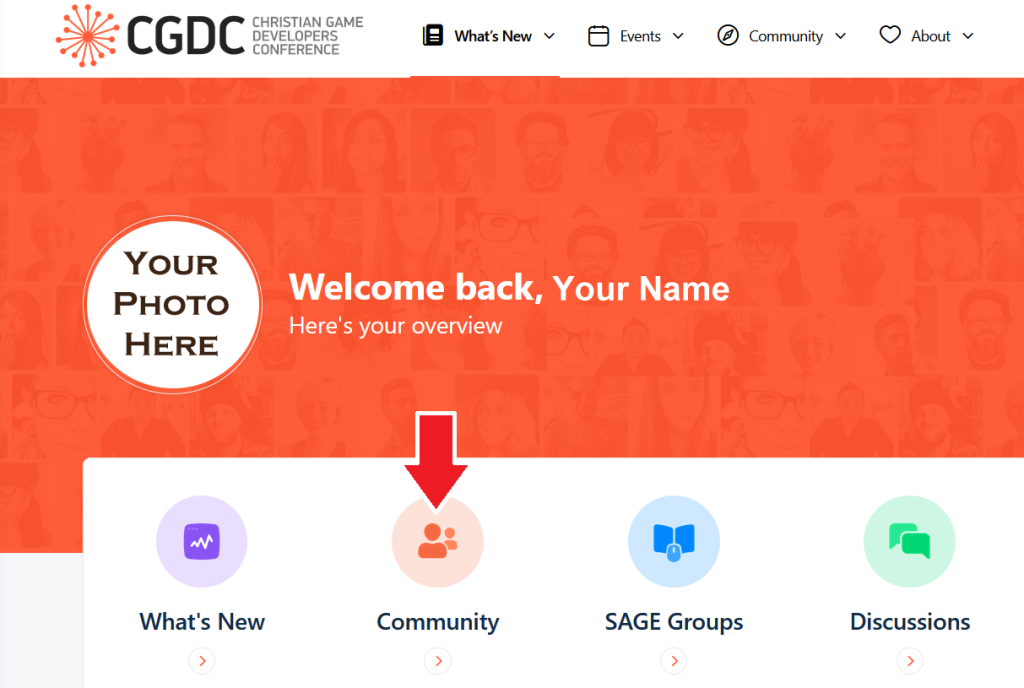
Click on the Community Icon, and it will take you to the main Community Page:
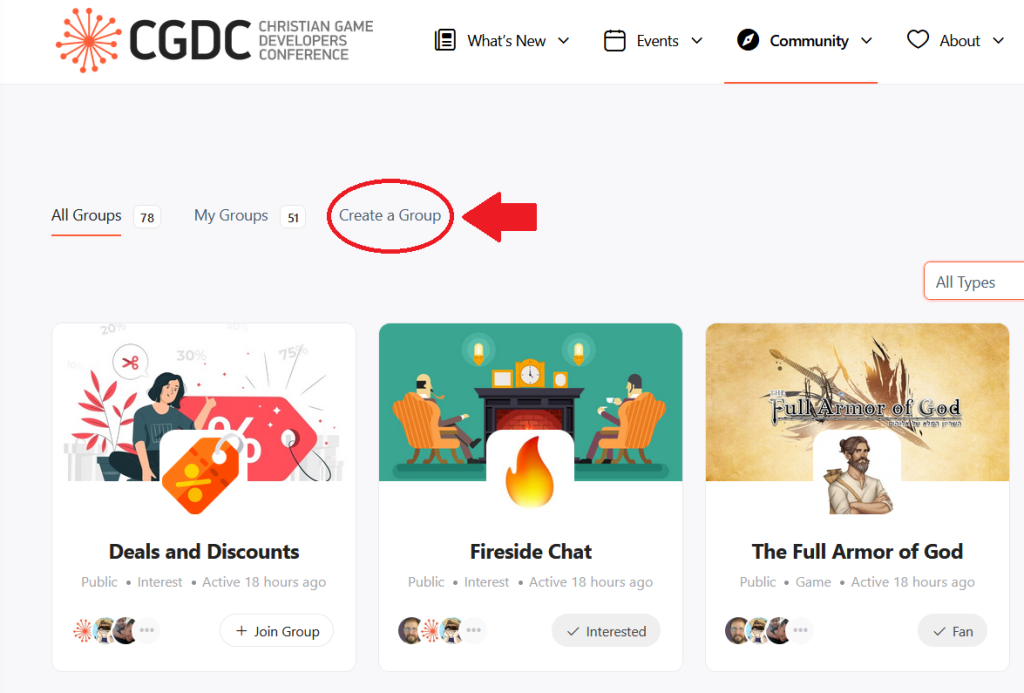
The click on “Create a Group” (circled with red arrow in picture above)
Clicking that will take you to the Create A New Group Form:
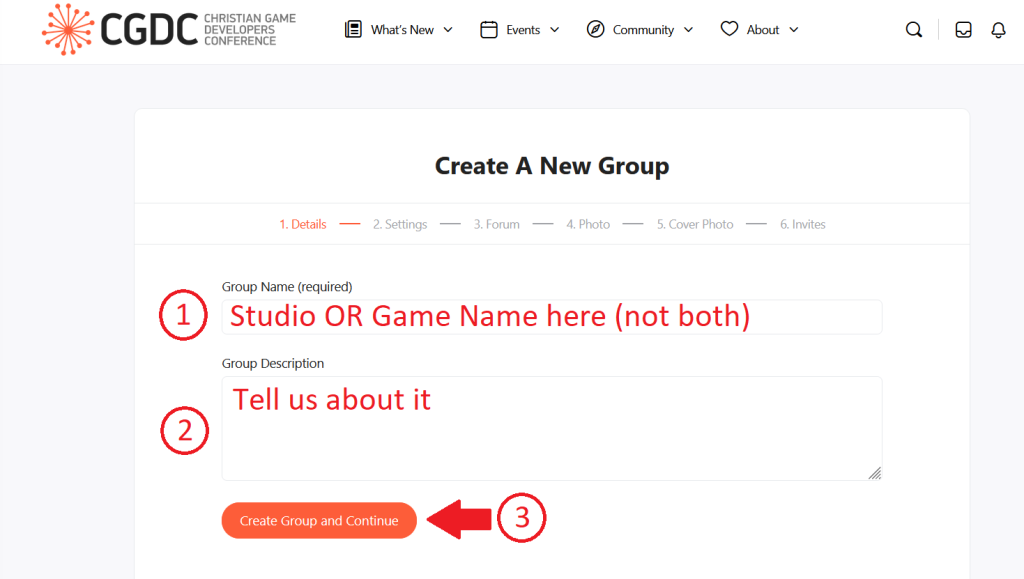
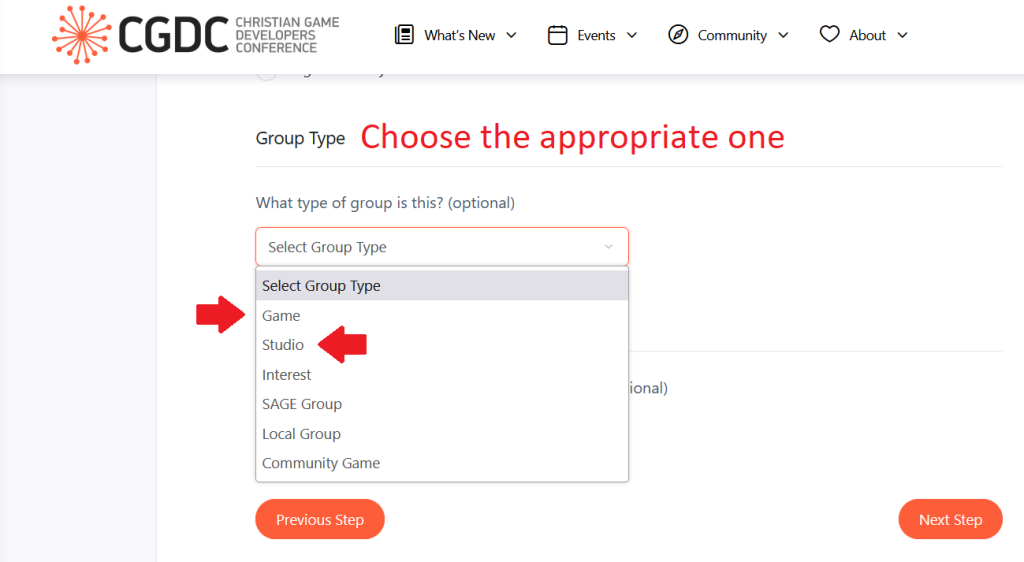
From there, it’s pretty easy. You’re given a number of options in Settings, two in particular I want to mention.
1) For Group Type, it’s important that you select the appropriate group type (Studio or Game).
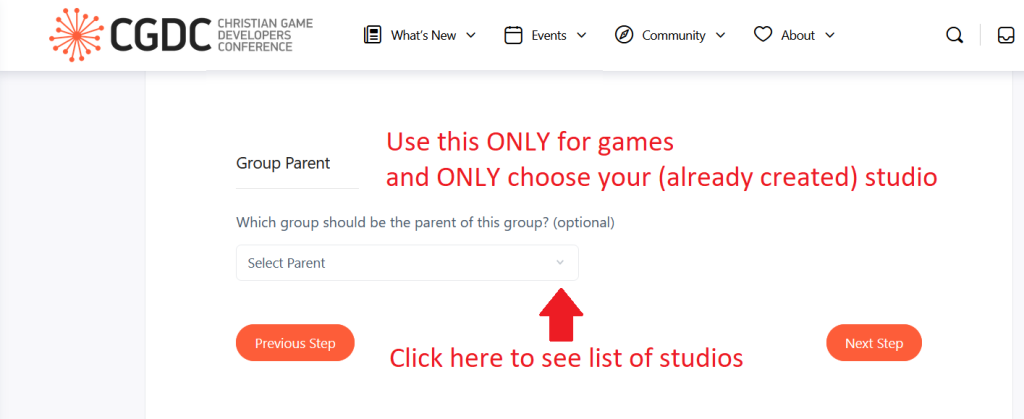
and 2) only use the Group Parent for your game(s) and only if you have (already created) a studio.
The rest of the process involves adding a Forum, Photo, Cover Photo, and Invites.
The Forum addition is automatic, nothing to do except press “Next Step”
The Photo is a profile photo (displayed as a circle) that should be 260 pixels wide by 285 pixels tall or larger.
The cover photo is a background banner that should be 1950 pixels wide by 450 pixels tall or larger.
Both photos can be added or changed later.
The group invites (to people you know, don’t spam the entire Community) are also optional and can be done later.
That’s it. Hit “Finish” and you’re done.
And if you have any questions or need further help, hit up one of the Website Admins.


Responses